Monday, April 11, 2011

Whole Grain Cooking Club

My mom is a terrific baker and I grew up with fresh baked bread throughout my childhood.  I can only aspire to make bread as good as she can someday.  Typically, she made bread with white flour, but lately she's been baking with more whole grains.

I've been doing the same and so we share the notes from our kitchen experiments.  We've formed our own little cooking club of sorts.

Here's her latest success that she shared with me...

Whole Wheat Bread
Makes 2 loaves

1 1/2 Tbsp active dry yeast
1/2 cup warm water
2 cups milk
1/4 cup oil
2 Tbsp agave nectar
1 Tbsp honey
1/2 Tbsp kosher salt
2 - 3 cups white all-purpose flour
3 cups whole wheat flour
1/4 cup wheat germ
1 Tbsp flaxseed meal

In a large bowl dissolve yeast in warm water.  Warm the milk and stir in oil, sweetener, and salt.  When cool to the touch combine with dissolved yeast.


Add 2 cups of all-purpose flour, the whole wheat flour, the wheat germ, and flaxseed.  Blend thoroughly.


Turn out onto a floured surface and knead dough about 10 minutes, adding as much white flour as necessary to keep dough from sticking.  When it is smooth and elastic turn the dough into a clean and greased bowl.


Cover with plastic wrap and let it rise in a draft-free place until doubled in bulk.  It took me about 90 minutes.

Punch the down down, knead about 1 minute, then shape into 2 loaves and put in greased 8-inch loaf pans.  Cover with a towel and let rise until dough just swells over top of pans.  My dough needed a little over an hour.


Bake in preheated 425 degree F oven 10 minutes, then turn heat down to 350 degrees F, and bake 25 minutes longer, until loaf sounds hollow when tapped with a finger.  Cool on racks.


Friday, April 8, 2011

Bar Stool Fridays - Water for Your Whiskey

I am very pleased to tell you that this is a guest post from my sweet husband, Mr. Cook in a Bar.  He was so inspired by our bourbon-swilling trip to Kentucky, he wanted to share his newly gained knowledge with others...

My wife and I have developed an insatiable thirst for whiskey.  Over the past year we have experimented with punch and cocktail recipes, but our thirst continues to lead us back to whiskey with plain old water or ice.  I have come to realize there is a simple complexity to enjoying a glass of bourbon and branch or bourbon the rocks…well, at least I think so.   


You can stop Googling now, because I will define branch for you.  Branch is a term that many bourbon drinkers use for water.  In a bar, the term branch is typically used to order a drink with plain water instead of being confused with soda.  More literally, and less available at your local pub, branch water is from a babbling brook or stream.  Maybe the name was coined because the water was seasoned by tree branches that fell into the water source or perhaps from the fact the water comes from a branch of a naturally flowing river.

The mixing of whiskey and water or ice is more complex than pouring two ingredients together.  The amount of water or ice added to whiskey can change the flavor of the drink dramatically.  This is most easily noticed when drinking whiskey on the rocks.  Your first sip is full of flavor and may even taste harsh, in fact, the alcohol may overwhelm the more subtle flavors.  As the ice melts the flavor becomes more mellow, and frequently, spicy or sweet flavors could become more apparent.  By the time you get to the end of the drink those flavors disappear into the plainness of the water from the ice that has melted and overwhelmed the flavor of the whisky.  This is why many choose to use water instead of ice to enjoy a consistent flavor from top to bottom of the glass.     
   
Recently Cook in a Bar and I were introduced to lump or rock ice, many times in the form of a ball.  We and other Makers Mark ambassadors across the county received a ball-shaped ice tray as a holiday gift.  The larger form of the ball allows the ice to melt slower so the flavors of the whisky develop and change at a slower rate.  This can give you more time to enjoy the flavors as opposed to the experience with small cubes of ice that rapidly melt away in your glass.   


To illustrate this I poured two glasses of Bookers bourbon, one over an ice ball and one over the equivalent amount of smaller ice cubes, and sat and watched.  It was unbelievably difficult to watch the ice melt and fight my natural instinct to pick up the glass and sip away.  The cubes were substantially gone within 45 minutes while it took twice as long for the ball to melt.     


Your enjoyment can also be impacted by the quality of water that is added to your drink or is used to make the ice. Iron-free water is important because the iron turns whiskey black.  Filtered or distilled water is the best choice for adding to whiskey because it  will not dramatically alter the lovely golden hue or the delicious flavor of the drink. 

You might have noticed a difference in the clarity of the ice in the pictures.  The ice cubes in the pictures were made from filtered water, but the ice ball was created with distilled water that was boiled twice.  To achieve the clearest ice, I recommend you start with distilled water that has fewer minerals, then boil it at least once.  Boiling the water releases the air or oxygen bubbles giving you clearer water.  These tips should help you to enjoy the full flavor of bourbon without disrupting the color or flavor with murky or cloudy water or ice.  

Tuesday, April 5, 2011

Pepper Vinegar

Making pepper vinegar is so easy.  You can even make just one bottle at a time, or make two - one for you and one to share - like I did.

First, wash the peppers and trim the stems.


Drop the peppers into your bottle.  I am re-using some nice looking Grolsch beer bottles.


Then, just cover with vinegar.  You can use whatever vinegar you prefer.  I used white distilled vinegar.


Finally, just let the bottles sit for 10 days or so and you are ready to go.  You can use the pepper vinegar on braised greens, salads, potatoes, meat, or anything else you can think of...  Enjoy!

This will keep in your refrigerator almost indefinitely.  Although, I've always used it within just a few months.

Monday, April 4, 2011

Farmers' Market Tips


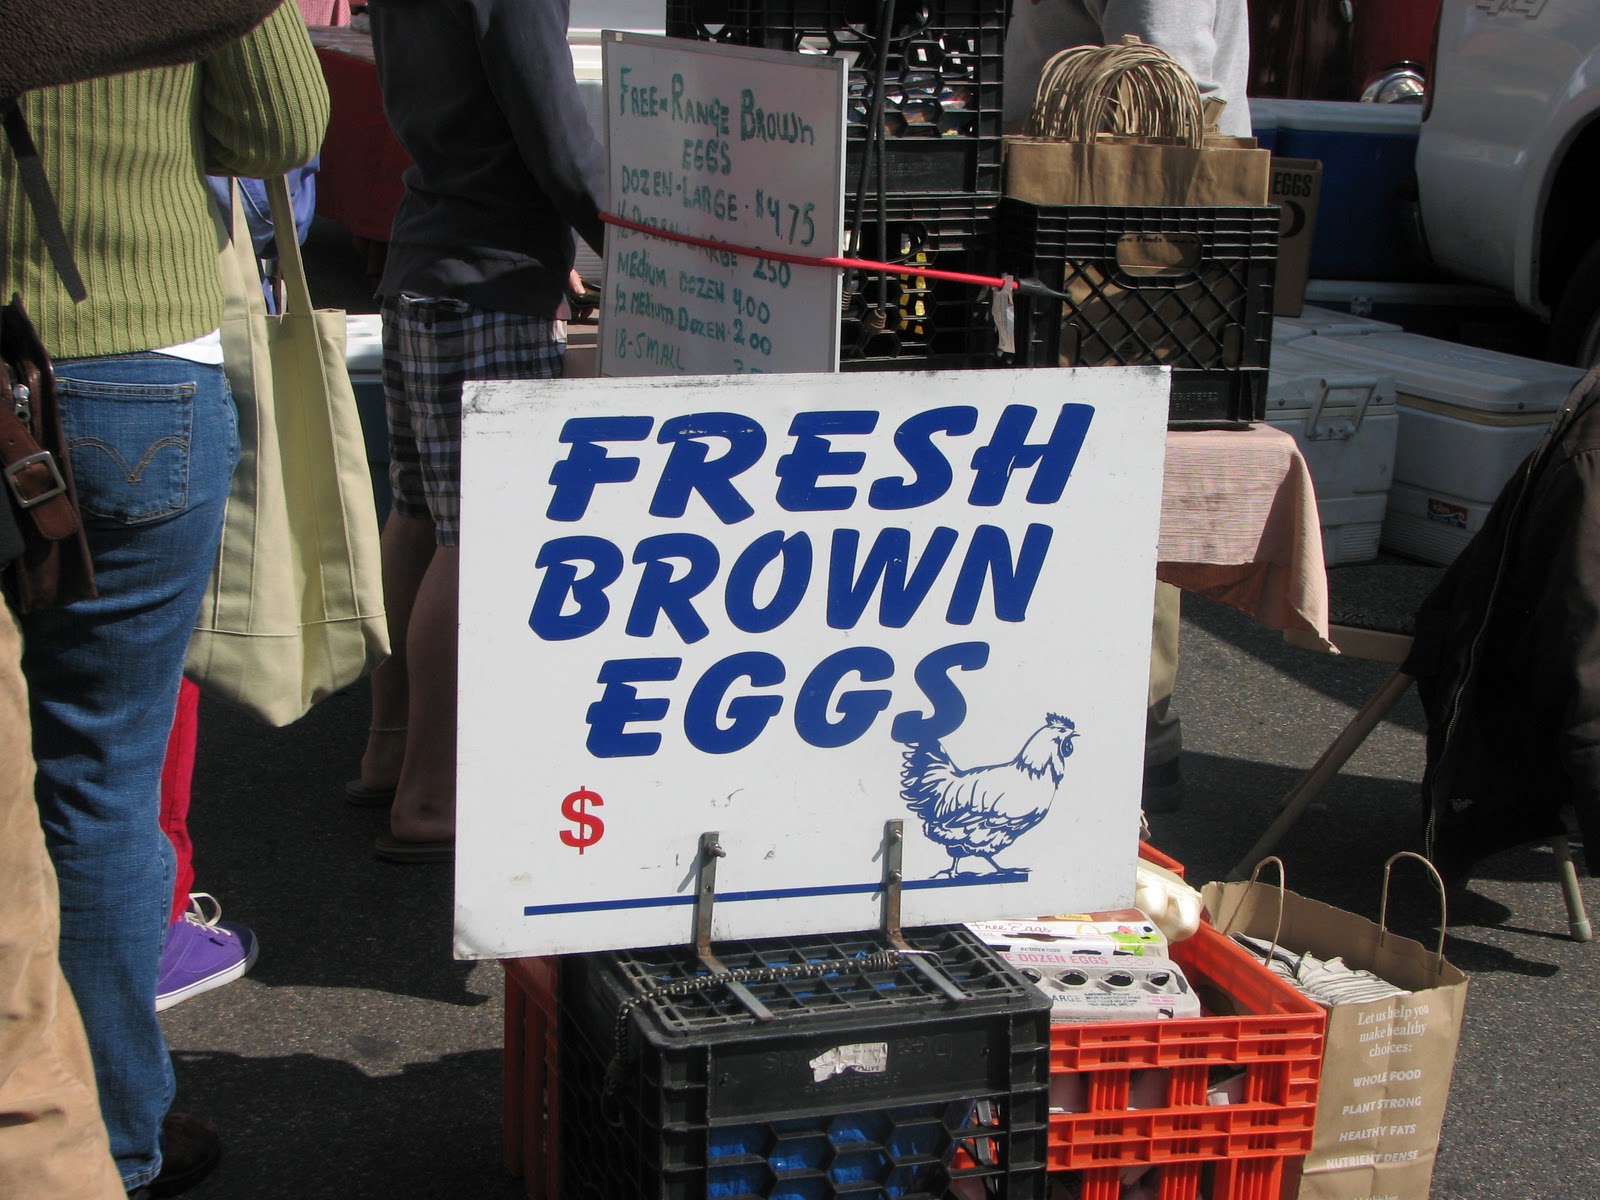
This weekend I volunteered at a local farmers' market.  It was a great way to get to meet some local farmers and I was able to enjoy a sunny day here in DC.  After watching the patrons and answering questions, I realized some tips to make the most of a farmers' market experience might be helpful to my readers.


Come Prepared.  Bring your own shopping bags and cash.  Most markets are not equipped to accept credit cards, although that is changing.  Also, try to be considerate of the vendors and bring smaller bills.  Don't count on vendors to supply you with bags, especially if you live in a jurisdiction that is regulating the use of plastic bags.


Scope, Then Buy.  I recommend doing a little reconnaissance when you first hit the market.  As you walk through you will notice similar items from more than one vendor, but with different prices and sometimes different quality.  More than one farmer could be selling tomatoes, but one may be certified organic, and more than one farmer could be selling brown eggs, but one may be $1 cheaper.  Because groceries will be stacked on top of each other, you may want to shop for the sturdiest stuff (think potatoes or melons) first.


Taste Test.  Most vendors will offer sample tastes of their products.  Sample strategically to try and broaden your palate and be adventurous.  Some farmers have recipe and preparation suggestions, too.


Talk to Strangers.  Take the opportunity to learn how to prepare something new.  Most farmers are happy to talk about their goods, their farm, or how they prepare the product, and if they are too busy with other customers, you'll likely get advice from others in line.


Timing.  Hit the market early if you want a less crowded experience and your pick of the freshest goods.  For a more bustling or energetic scene, hit the market at its midpoint.  For bargains, keep in mind that farmers often slash prices about an hour before closing.


Think Beyond Veggies.  Many markets are inviting a wide variety of vendors to participate.  You may see flowers, yarn, baked goods, cheese, meat, preserves, pasta sauce, and many other things.  Local musicians, jugglers, and other entertainers may also be present at your market.


More on Bargains...
Embrace the rejects.  The less attractive produce and sometimes be cheaper, and can make a great sauce or can be hidden in a casserole.


Pay for flavor.  No matter how you consider it, I think ten bucks is a lot to pay for cheese.  I splurge on stronger or more pungent varieties that add big taste in small doses.


How do you find a local farmers' market?

The resource I have found most helpful is searchable database of farmers' markets of the US Department of Agriculture.
http://apps.ams.usda.gov/FarmersMarkets

I have also found useful information about markets from the private organization, Local Harvest.  http://www.localharvest.org

In the Washington, DC metropolitan area, many markets are run by the organization FreshFarm Markets.
http://www.freshfarmmarket.org

Happy Shopping!

Friday, April 1, 2011

Bar Stool Fridays - Pickles for My Cocktails

Well, actually these pickles will be for my brother's cocktails.  I've been making lots of pickles lately and I hope that it is because they taste good that I've gotten specific requests and suggestions from our dinner guests including my little brother.  He requested some spicy pickled onions that he could use for his gibson cocktails and perhaps just for snacking.

I found recipe inspiration, as I often do, from James Beard.  His recipe for pickled onions was a bit large for my purposes, but I liked his inclusion of white wine.

Here's what I came up with, Red.  I tried to make it spicy, per your request.  I hope it works for you.

Pickled Cocktail Onions
Makes 1/2 pint jar

8 oz small pearl onions (I used a mix of red and white for variety)
1/4 cup kosher salt
cold water
1/2 cup white wine
1 cup white wine vinegar
1/4 cup sugar
1/2 tsp coriander seeds
1/2 tsp dried minced garlic
1/2 tsp red pepper flakes
3 black peppercorns

Fill large saucepan with water and bring to boil.  Add onions, turn off heat, and let stand for 5 to 10 minutes.  Test to see if outer husk with slip from onion.  When it does, immediately drain onions and rinse in cold water.  Slip from outer skins and cut away root ends.  Don't trim away so much that the onion starts to come apart, though.

Place the onions in a bowl, sprinkle with 1/4 cup of salt and cover with cold water.  Loosely cover and let stand overnight.


Drain and rinse well with cold water.  Pack the onions in a clean, sterilized jar.

Bring wine, vinegar, and sugar to a boil.  Add spices and simmer for about 10 minutes.


Carefully pour hot liquid into jars to fill within 1/4-inch of top and cover the onions.  Seal the jar.  Keep in the refrigerator for up to a month.


Here is one way to enjoy your pickled onions...

Gibson
Makes 1 drink

1/2 oz dry vermouth
2 oz gin
pickled onions garnish

Place martini glass in freezer until frosty.  Once cold, coat inside of glass with dry vermouth and shake out excess.

If you don't keep your gin in the freezer, then pour your two ounces of gin in an ice-filled shaker and shake to make icy cold.  Strain and pour into prepared glass.

Garnish with pickled onion and serve.