Showing posts with label bread recipe. Show all posts

Friday, December 3, 2010

Sweet Potato Redux

Thanksgiving leftovers are the best, but I do tire of turkey sandwiches and reheated stuffing.  Many of the remaining dishes from your Thanksgiving meal can be turned into something more inventive, however.

Take sweet potatoes, for example...I made mashed sweet potatoes with chipotle peppers this year.  I got some of my best compliments ever, but I still had some left after the meal.  If you also have leftover diced sweet potatoes you could make them into soup or a hash with turkey and brussel sprouts.  Now, if your sweet potatoes are mashed they can become some delicious bread...


Sweet Potato Bread
Makes 2 loaves

2 cups sugar
2/3 cup orange juice
1/3 cup oil
1/2 cup unsweetened applesauce
4 eggs
2 cups mashed sweet potatoes
2 cups all-purpose flour
1 1/3 cup whole wheat flour
2 tsp baking soda
1/2 tsp baking powder
1/2 tsp salt
1 tsp cinnamon
1 cup coarsely chopped pecans

Preheat oven to 350 degrees F.

In a large bowl, combine sugar, orange juice, oil, applesauce, eggs, sweet potatoes, and mix well.


Add dry ingredients and stir to combine.  


Mix in pecans.


Divide batter between 2 well-greased loaf pans, or one large and two mini-loaf pans, like I did.


Bake for 50 to 60 minutes, or until tester comes out clean.  Cool to room temperature in pans.


Tuesday, November 23, 2010

Breakfast with Marie

I am sad to say that I never knew my mother's parents.  Fortunately, her father's sisters worked very hard to make up for that loss, making sure we knew a lot about our grandparents and their history.  They always made our visits special, and that included as many delicious treats as my brother and I could eat.

As a kid, I wasn't a big fan of breakfast.  I wasn't willing to sit down and eat just anything in the morning.  I did, however, love the apple bread my great-aunt Marie made for me.  In fact, that was pretty much the only thing I would eat for breakfast during my visits.  Well, there was the Apple Jacks cereal phase, but that's another story.

Aunt Marie worked hard to make us happy and always feed us what we wanted to eat, and there was always a loaf of apple bread waiting for me when I awoke.  I'd sit at the huge kitchen table and watch the boats in the bay and talk about life and what I wanted to do with my day.  Our aunts were both generous listeners who could make my brother and I feel like we were the only thing that mattered.  We all know we are very lucky to have them a part of our lives, and we still miss them.

I made a loaf recently and shared some with my mom.  The smell and taste of Aunt Marie's apple bread brought back a lot of great memories for both of us.  I know Aunt Marie would be proud.

Aunt Marie's Apple Bread
Makes 2 medium-sized loaves (or 1 large and 1 small)

1 cup butter
1 1/2 cups sugar
4 eggs, beaten
4 cups flour
1 tsp salt
1 tsp cinnamon
2 tsp baking soda
4 Tbsp buttermilk
2 tsp vanilla extract
4 cups peeled and diced apples

Topping:
4 Tbsp butter
4 Tbsp sugar
4 Tbsp flour
2 tsp cinnamon
1 tsp ground cloves

Cream butter and sugar until light and fluffy.  Add eggs, mixing well.


Stir in flour, salt, and cinnamon.  


Dissolve baking soda in buttermilk and add to batter, mixing well.  Stir in vanilla and apples.


Spoon batter into well-greased and floured loaf pans.  

To create topping, mix together all ingredients until consistency of coarse crumbs.


Sprinkle the batter in pans with topping and bake at 325 degrees F for about 70 minutes.


This bread freezes beautifully, making it a perfect treat for the holidays.  You can keep some on hand in your freezer for unexpected guests or to give as gifts.  It doesn't keep past about 2 days at room temperature, so definitely put it away in the freezer, if you don't eat it before then.

Wednesday, October 20, 2010

Olive This Bread

I'm crazy for the olive bars that are popping up in the nicer grocery stores across the country.  But, I always end up buying more than I really need.  Since not all the varieties I end up with taste good in martinis, I decided to whip up some olive bread.

Olive Bread
Makes 1 loaf

1 package of active dry yeast
1/4 cup warm water
1 tsp white sugar
2 3/4 to 3 cups all-purpose flour, divided
1/4 cup butter, melted
3/4 cup warm milk
1/2 to 3/4 cup seeded, chopped olives (any variety)

In bowl, combine yeast, sugar, and warm water.  Let proof.


In large bowl, combine 1 1/4 cup flour, melted butter, and milk.  Add foaming yeast to dry ingredients.  Stir well.


Add chopped olives and stir.


Add another 1 1/4 cups flour to make a soft dough, stirring.  Turn out the dough onto a floured surface.  Depending on how sticky it is, you may need to add another 1/4 cup of flour as you knead.

Knead until it is no longer sticky.  Cover and let rise on floured surface for about 10 minutes.  Make sure the space isn't too drafty.


Now, get it ready for baking.  I baked my loaf free-form on a baking stone.  So, I just shaped it a bit and placed it on the stone.  If you want to use a loaf pan, roll up the dough tightly...seal up the ends by pinching down at seams...place the loaf, seam facing down in a greased 9 x 5 loaf pan.


Cover completely and allow it to rise in a warmish, draft-free place until doubled.  This usually takes about an hour.


Bake in a preheated 375 degree F oven for 30 to 35 minutes, or until the bread is golden brown.

Wednesday, April 28, 2010

No Excuses for Eating Lousy Bread

I didn't eat store-bought bread until I was in high school.  This is gonna sound like the start of a Martha Stewart story, but I promise it is not.

My mother baked bread for our family every week, except for one week when I was very young and our air conditioning didn't work.   She understandably didn't want to turn on the oven.  That week she bought a loaf of bread for the four of us and I'm fairly certain she ended up using most of it for breadcrumbs later.  I hated it.  I hated it more than the heat.  I wasn't even in school yet, and I knew that bread was just wrong.  Bread should not taste that way; it should not have that texture, or that lack of smell.

Mom taught my brother and I how to bake bread, but our loaves were never as good as hers.  I think it was just the practice.  Once I was old enough to truly recognize the amount of effort it takes to bake several loaves of bread every week for a busy family, I was also old enough to take on a lot of the cooking responsibility.    We all took turns trying to bake, but it didn't happen every week.  We filled in the gaps with store-bought loaves.  I still hated the taste, but I understood the trade-off for our schedule that we made by having store-bought bread.

In the years since establishing my own household, I still only make bread haphazardly.  I've never thought of it as difficult (and neither should you).  I tell myself it is more about the time needed for multiple risings.  However, that is still only a lame excuse.

My mom has starting regularly baking bread again.  She had homemade bread there for us during our visit, and it reminded me of how much I enjoy it and how much it can be worth the time and effort.  Feeling inspired, I skipped the bakery section and bread aisle at the grocery store.  Then, I came home and baked bread.

Honey Whole Wheat Bread

Makes two 9 x 5-inch loaves

3 ¼ cups warm water (no more than 110 degrees F)
1/3 cup honey
2 packets or 4 ½ teaspoons active dry yeast
canola oil or Crisco for the bowl and pans
4 cups, all purpose flour
3 cups whole wheat flour
1 cup wheat germ
2 Tbsp fine sea salt

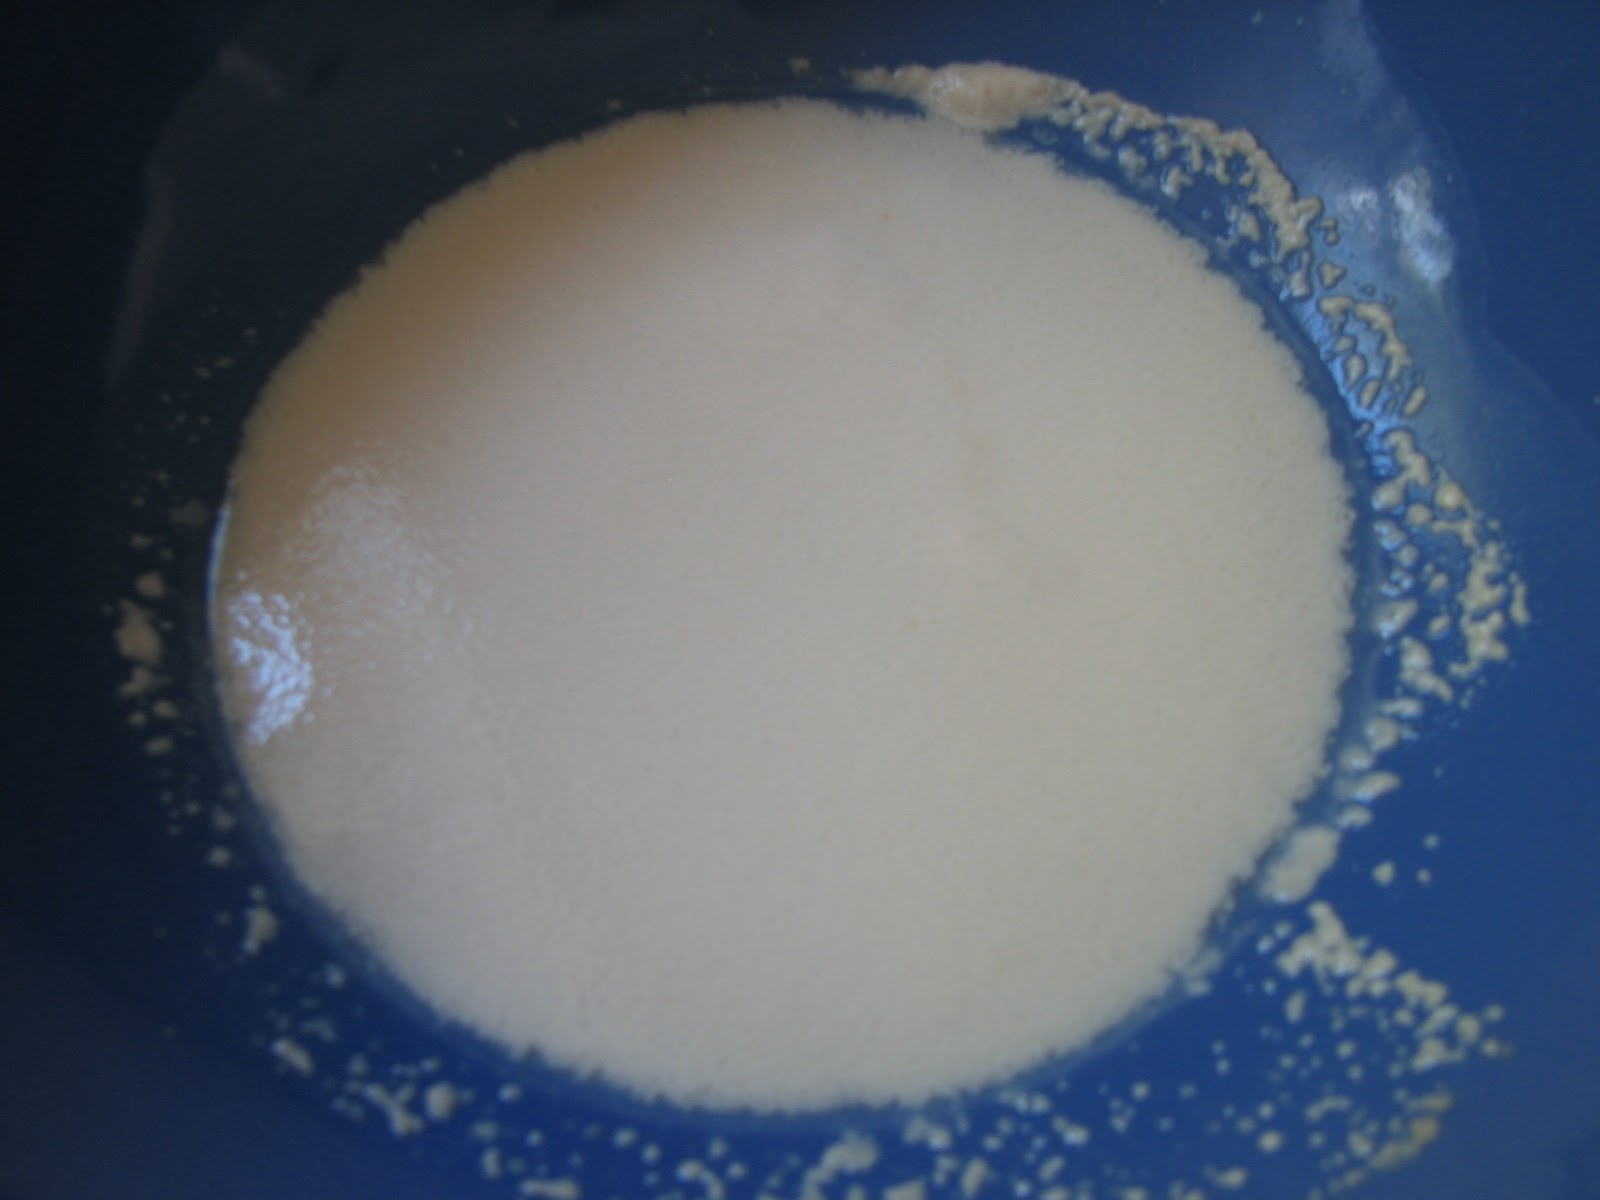
In a large liquid measuring cup, combine the warm water, 1/3 cup honey, and yeast.  Stir until dissolved.  Set aside to proof.  The mixture will become creamy and foamy, it took less than 5 minutes.  If it doesn’t, your yeast is likely dead.  It could be that the water was too hot water and killed the yeast or it was dead in the package.

Lightly oil or grease the inside of a large bowl.

To make the dough, combine flours, wheat germ, and salt in a bowl.  I used my Kitchen Aid mixer fitted with a dough hook, but a wooden spoon will work just fine.  Pour in the yeast once it has proofed and knead on low speed until well combined.

To shape the dough, turn it out onto a lightly floured surface.  I found it pretty sticky still so have the flour near by to coat your hands.  Knead the dough by using the heel of your hand to compress and push the dough away from you, and then fold it back over itself.  Give the dough a small turn and repeat until the dough is smooth and elastic, it was a little over 5 minutes for me.  The dough is ready when it bounces back when pressed with your fingers.


Place the dough in the oiled bowl.  Cover with a dry towel and let the dough rise in a warm place until doubled in size, about an hour.


While you are waiting, lightly oil or grease the insides of two 9 x 5-inch loaf pans.

Turn the dough out onto the floured surface, and punch down.  Halve the dough; flatten one piece an oval and roll up lengthwise.  Place the roll, seam side down, into one of the prepared pans.  Repeat with the remaining dough.  Cover the loaves with a dry towel and let rise in a warm place until doubled in size, about 45 minutes.

To bake the loaves, preheat the oven to 400 degrees F.  Bake until deep golden brown, it took just over about 50 minutes.  The loaves will sound hollow when tapped on the top.  Transfer the pans to a wire rack, and let cool for 5 minutes.  Invert the loaves onto the rack to cool completely.


Once cool, be sure to wrap the loaves securely, (if you don’t eat it all in one sitting) so it doesn’t go stale quickly.  You can also wrap in aluminum and plastic wrap to freeze.  This is really easy.  You are going to want to do it again.

 This recipe is from a cookbook by Virginia Willis.  It is one of those cookbooks filled with stories and warm descriptions that I like to read in bed.  Weird, I know... Regardless of where it is read, I think you will enjoy this book.  You will also enjoy how wonderful your house smells when you bake your own bread.